
How to get there
-
 . The MIDI tool menu appears.
 - Select a region of measures. If you’re in the MIDI
- Choose MIDI tool > Edit Key Velocities.
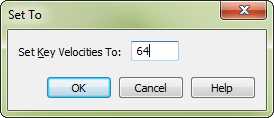
- Choose MIDI tool > Set To.
What it does
This dialog box’s wording changes to reflect your MIDI data type selection (key velocities, note durations, or continuous data). Its function is to allow you to set the values of the selected MIDI data type to a specified value. For example, if you’ve selected Key Velocities, you can specify that all notes in the selected region should be played back with the same volume by setting their velocity values to a single MIDI velocity value. (MIDI velocity is measured on a scale of zero, silent, to 127, very loud.)
- Set Key Velocities to ____. The numbers in these text boxes represent MIDI velocity values (which range from 0 to 127); Finale sets all notes in the selected region to the key velocity value you enter in the text box.
- OK • Cancel. Click OK to confirm, or Cancel to discard, the MIDI data changes you’ve specified. You return to the MIDI
See also:
Leave feedback on this topic
Finale 2014 for
Copyright and trademarks

