Setup Wizard
How to get there
- Choose File > New > Document with Setup Wizard.
- Or, in the Launch Window, select Setup Wizard.
What it does
The Setup Wizard will help you to setup a PrintMusic project with your own custom instrumentation, a title, composer, and other file information. It also offers a selection of document styles that allow you to automatically begin with libraries of musical elements suited to a specific type of score.
Page 1: Select an Ensemble and Document Style

- Select an Ensemble. Choose one of the preset ensembles to load a document with predetermined instrument staves and score order. Or, choose Create New Ensemble to specify your own custom instrumentation.
- Select a Document Style. Select the default document style you want to use to create your score. Click Engraved Style to use a default file with the Maestro music font. Click Handwritten Style to use a default file with the Broadway Copyist music font.
- Page Size • Portrait • Landscape. Select the page size you want to use and whether the document will be portrait or landscape.
- Cancel • Next. Click Cancel to exit out of the Setup Wizard and return to PrintMusic with no document open. Click Next to continue on to the next dialog box in the Setup Wizard.
Page 2: Add or Delete Instrument(s)
.png)
- [Families] • [Parts]: Add • Remove • Add Vertical Space. Select a certain instrumental family, and add the part selected from the Parts column. The parts that are selected will be displayed in the list on the right. Parts will be added in score order. If you want to remove a part from the list on the right, highlight the part and click remove.
- Score Order • [Arrows]. Use this menu to select a standard score order for your instruments. Instruments in your document will reorder immediately after you select a new Score Order. The Score Order selected in this menu is applied whenever new instruments are added to the document, and changes to “Custom” automatically if you manually adjust the order of your instruments with the arrow buttons.
- Back • Next • Cancel. Click Back to return to the first page of the Setup Wizard. Click Next to continue to the next page of the Setup Wizard. Click Cancel to exit out of the Setup Wizard and return to PrintMusic with no document open.
Page 3: Score Information
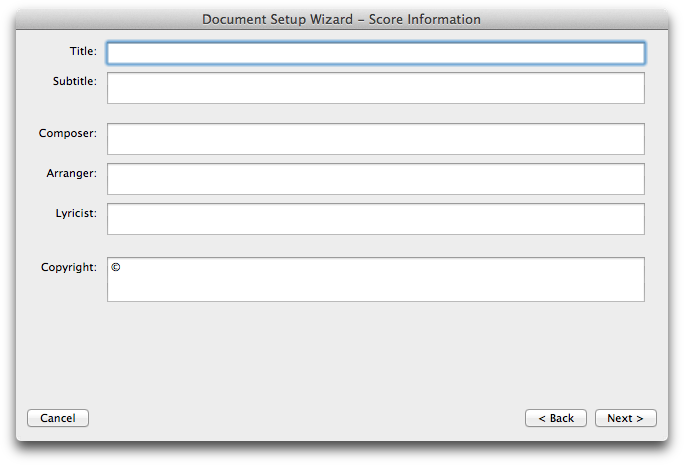
- Title • Subtitle • Composer • Arranger • Lyricist • Copyright. Enter the textual information of your piece here and PrintMusic will automatically enter them into the document for you.
- Back • Next • Cancel. Click Back to return to the first page of the Setup Wizard. Click Next to continue to the next page of the Setup Wizard. Click Cancel to exit out of the Setup Wizard and return to PrintMusic with no document open.
Page 4: Score Settings

- Select a Time Signature. Select a time signature from several common time signatures.
- Select a Concert Key Signature. Use the scroll bar to select a key. Click the up arrow to add sharps or subtract flats; click the down arrow to add flats or subtract sharps. Use the popup menu to specify major or minor.
- Specify Initial Tempo Marking. Check this box to have PrintMusic place a tempo marking on the first measure of the score. This expression will affect the playback tempo. If desired, in the text box, enter the text you would like to appear above the first measure of the score. Click the quarter note to change the beats per minute.
- Specify Pickup Measure. Check this box to have PrintMusic create a pickup measure at the beginning of the score. Click on the note corresponding to the sum of the pickup note or notes.
- Number of Measures. Specify the number of measures you want in the piece in this text box (you can always add or delete measures later).
- Back • Finish • Cancel. Click Back to return to the third page of the Wizard. Click Finish and PrintMusic will create your score, based on your choices and the default file. Click Cancel to exit out of the Setup Wizard and return to PrintMusic with no document open.
