 .
.Using the Expression tool to add measure-attached markings.
In Finale, markings that appear as text, such as dynamics and tempo markings, are usually expressions added with the Expression tool.
In this lesson you will learn how to:
Note. To begin at this point, open "Tutorial 6.MUS."
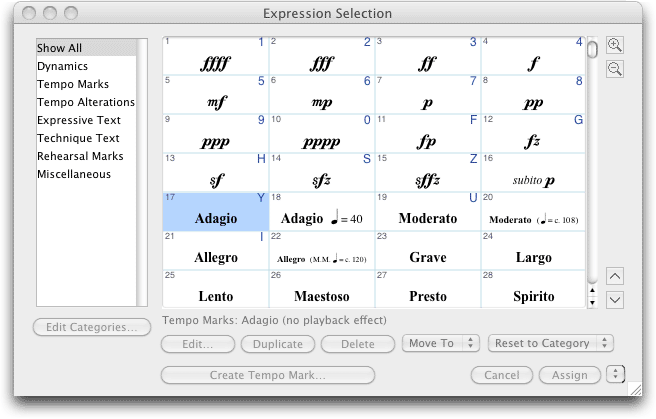
In this score, we need to put a tempo marking "Flowing" above the first measure of the top staff that indicates a tempo of about 80 beats per minute. Finale includes a category of expressions specifically tailored for tempo and metronome markings. We'll add our own custom tempo marking to that category so that it automatically bears the appearance of a standard tempo marking, requiring the least amount of editing. We'll also assign a number of beats per minute to the marking to change the playback tempo of our document.
To add the tempo marking:
.
Dynamic markings indicate the force/volume of the music to be performed by a single instrumentalist, and are therefore (unlike tempo markings), each independently assigned to a particular staff (although multiple dynamics can be assigned at once). Let's assign a dynamic to three of our instrument staves.
To add dynamic markings:
 marking.
 . appears beneath the three staves. Notice the marking beneath the vocal staff collides with the lyrics. We'll fix that in the next section.
It is traditional for vocal dynamics to appear above the staff rather than below (so as not to interfere with the lyrics) and you may want the dynamic for the guitar and piano staff to appear under the first full measure. Let's move those now.
To position expressions:

Handles – As you add Expression, Articulations and other markings, you will notice handles next to the markings. Handles appear when the entry tool for that marking is activated and can be used to edit and move these markings.
Note. The dashed blue line tells you which beat the expression is attached to. Be sure the line is anchored at the appropriate beat to ensure proper spacing and updating as you edit your music. You will notice the dashed line adjusts as you move the marking horizontally. To force the attachment indicator line to remain affixed to its beat as you drag, hold down the
Tip. You can also use the arrow keys on your keyboard to nudge expressions. This can give you much more control to make very subtle adjustments to placement.
You can drag-enclose multiple staves to add several expressions at once.
To add multiple expressions:
 marking. marking above the staff, delete the marking below the left hand piano staff, and drag the marking in the clarinet staff to the right until it's beneath the first beat of measure 8.
 Previous Previous
|
Next 
|
| User Manual Home |

|
 Watch video "Adding a tempo marking."