Preferences
How to get there
Choose Edit > Preferences.
What it does
The Preferences dialog box gives you control over program-wide settings including Auto Save duration, folders for your music, templates and User Manual, as well as background styles. The options are separated into four pages. Click a category from the list on the left to display the corresponding options.
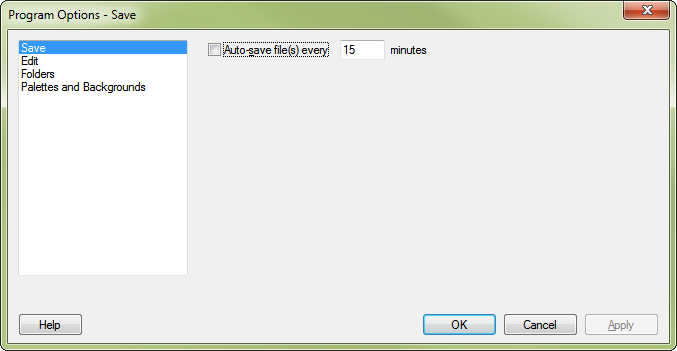
Save
- Auto Save File(s) Every ___ Minutes. If you tend to forget to save your work to your hard disk every so often (by choosing File > Save), PrintMusic’s Auto Save command is a good safety net. When this feature is on, PrintMusic will update a second copy (not the one you’re working on) at regular intervals. This second copy of your file is stored in the Auto Save folder.
Select this checkbox; in the text box, specify how often PrintMusic should save your work to the duplicate copy of the file you have open. After the number of minutes you specified have passed, a message will appear, letting you know that PrintMusic is saving your work. (This feature does not save your changes when you exit from PrintMusic, however. Be sure to save changes to your primary file when you exit.
Edit
- Automatic Update Layout. This option has no effect in Scroll View. In Page View, this option determines whether PrintMusic will update the layout each time it redraws the screen. When this option is selected, PrintMusic will update the layout each time it redraws the screen (it will take a little extra time to perform the additional task).
PrintMusic actually updates the layout for the current page and discards the layout for all subsequent pages, although it doesn’t take the time to update the layout until you display the subsequent pages. When Automatic Update Layout is not selected, PrintMusic will still, on occasion, update the layout. For instance, if you adjust the position of a staff or add staves to the score, PrintMusic will update the layout.
- Automatic Music Spacing. Select this option to have your music automatically spaced as you enter it—at the end of a Speedy Entry measure, at the end of a HyperScribe session, or after each note in Simple Entry. See Music Spacing.
Folders
- Music • Auto Save • User Manual • Template. Browse. You can specify different folders to store your files in. When PrintMusic saves or opens music files, it looks in the specified folders. Note that PrintMusic will use the settings from the Maestro Font Default file, if the default file is stored in the music folder. If you do not enter alternate folders for the music files, PrintMusic will store those files in the current folder. To select a new folder, type in the path and folder name, or use the Browsebutton for the folder you are changing.
Palettes and Backgrounds
- Close Subsidiary Palettes When Leaving tool. If this item is selected, PrintMusic will close the Smart Shape palette (for the Smart Shape tool) or the Simple Entry palettes (for the Simple Entry tool) whenever you change to another tool. If you prefer to leave the palettes displayed, deselect this checkbox.
- Document Window Background: Graphic File; Select • Default • Tile • Stretch • Solid Color; Select. Click Select button for Graphic File to choose one of PrintMusic’s backgrounds to place behind the score, or to choose your own background graphic. Click Default to use PrintMusic’s default background. Choose Tile to tile the background graphic. Choose Stretch to automatically stretch the graphic to fit the background area. Click the Select button for Solid Color to choose a solid color for your background.
- Manuscript Texture: Graphic File; Select • Default • Tile • Stretch • Solid Color; Select. Click the Select button for Graphic File to choose one of PrintMusic’s manuscript backgrounds to place behind the music, or to choose your own manuscript graphic. Click Default to use PrintMusic’s default manuscript background. Choose Tile to tile the manuscript graphic. Choose Stretch to automatically stretch the graphic to fit the page area. Click the Select button for Solid Color to choose a solid color for your background.
- OK • Cancel. Click OK (or press ENTER) to confirm, or Cancel to discard, your new program settings.
